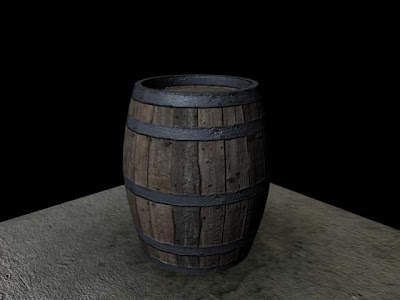
Final Render with Diffuse, Bump, and Specular Maps

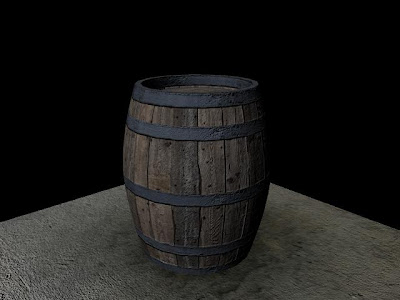
Model with Diffuse and Bump Textures

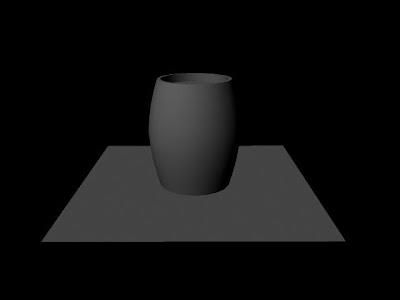
Model with just diffuse Textures

The UV editor part way through creating all my UVs

I have just finished working my way through making some simple objects and texturing them with three out of the four different types of texture maps. In the dice model I was using diffuse and bump maps to give colour and the illusion of depth. In this scene I used diffuse maps to texture the colour and detail to the barrel, bump maps to create dips and raises on the surfaces of the barrel and the concrete floor. Finally I used a specular map to alter how shiny the surface is when light hits the object. This made the metal strips on the barrel reflect light a little bit and also made the concrete floor shine as if there was a small amount of water on it. I am really pleased with the final outcomes, I really like looking at the image renders over the course of texturing and seeing how the image improved as another map was added. The only map I have yet to use is normal mapping, which is used for giving lower resolution models details taken from a higher resolution model without having to create lots of extra geometry. Also during this task I had to create my own UVs for the barrel, because I made the barrel myself from a CV curve it did not start with any UVs unlike the floor which was made from a polygon plane. So I had to select surfaces and create my own UVs to map the textures to. I ran into a little problem with the base of the barrel when I came to texture it, I realised the reason it wasn't texturing correctly was because I had had a problem selecting all the faces on the base of the barrel and this was likely to have caused the area to not be identical to the top of the barrel, which was textured without any problems.

No comments:
Post a Comment