Ah polypaint, this post is actually going to be a post about the texturing pipeline I am using to texture my beastman bust, but seeing as I'm using polypaint a large amount in the process there will be a fair bit of waffle about how/why it's good. I'll start briefly with a "what is polypaint/why is it good?" Polypaint is a feature in ZBrush (and I also believe you can do similar things in Mudbox but don't quote me on that) which allows you to apply colours directly to polygons. Thus texturing you object. Now the advantage of ZBrush is that providing your computer can manage it can cope with millions of polygons per subtool (and many subtools) and up to a billion polygons with HD sculpting. That's a lot of polygons you say, well you are correct and its a lot of potential for storing colour information. If you were to unwrap a model a texture it in photoshop and 2K texture has 4,194,304 pixels of colour information, but unwraps are never 100% efficient leaving a sizeable chunk of that unused. This means that if you have a model with more than 4 million polys you are getting more colour information by painting straight onto the model. Polypaint also has the benefit of being applied directly to the surface of the model making it much more intuitive a process. Now my favourite bonus of using Polypaint is that because the information is stored in the polygons if you move them the information is still there. If you unwrap a character and need to make changes you often going to need to re-unwrap and in some cases do some serious re-texturing work. I hate being at the stage in modelling when you are pretty sure you don't want to do any more to the model but not 100%. Like in the case of this model. I know I want to get the texturing started but I may want to make tweaks when they occur to me and I don't have the luxury of time right now. Anyway onto the model.
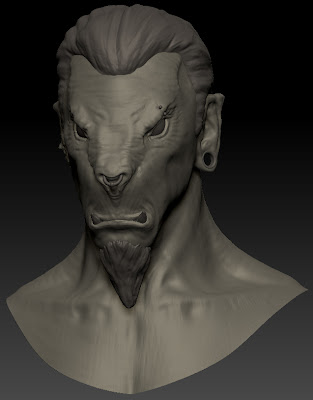
First step is to apply a base colour to the model. I'm going for a light grey brown colour for this character, as I have a nice reference of a mountain goat and I rather like the light fur/skin that would blend in well in snowy mountains.
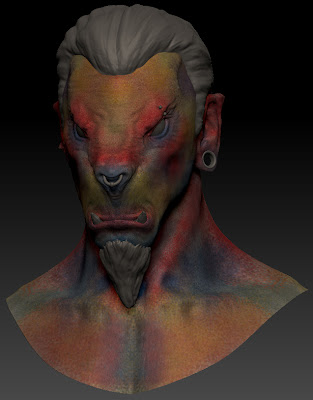
The next step is pretty garish, I apply on a separate layer bright reds for areas of high blood flow, blues for cool areas, purples for recesses, and yellows to add variance to large areas of skin. This will be largely covered up by later layers but gives the skin realistic variation in the texture without are sub surface scatting materials applied.
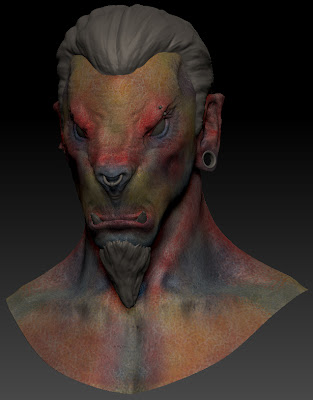
I then used an alpha brush on a new layer which desaturates the alpha and breaks up the shapes giving a more skin like feel and reduce the intensity of the skin variance layer.
The next layer I start with low opacity brushes to bring back some of the base colour over the top of these layers bringing it back closer to the skin colour I want.
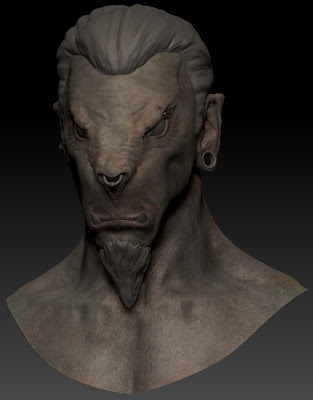
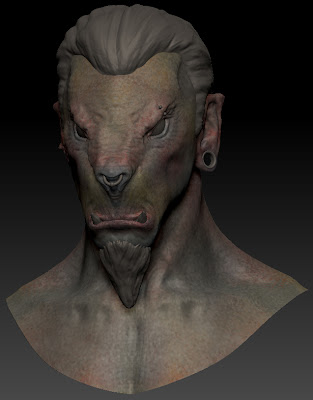
This next layer is a continuation on from the last one, I am starting to model some of the texture adding slight highlights and lowlights to emphasise features. This is by no means a finished texture. From here I will continue to refine the skin colour, returning to previous layers where I need to. I will also use textures and photos to paint details directly onto the model. Once I've finished the bust I shall then move onto the hair and accessories.


No comments:
Post a Comment