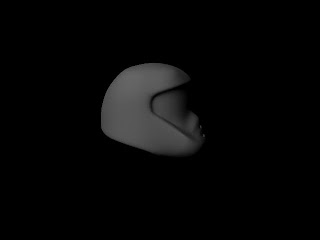
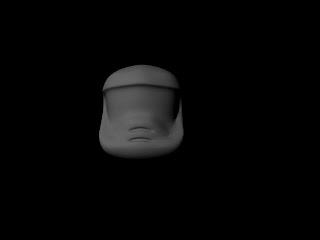
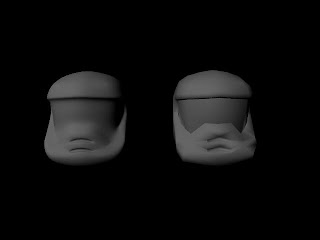
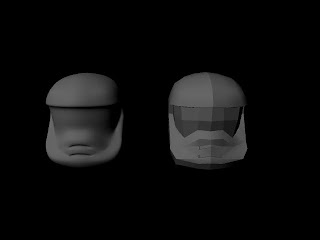
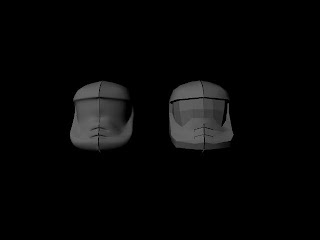
My next bit of CGI modelling, again this is all polygon modelling, I started with a basic cube shape and added subdivisions before carving a basic helmet shape out of it by deleting faces. From that I matched the verticies up to a pair of reference images and extended my shape until I had a basic shape of the helmet. Then I drew a second polgon as the profile of the jaw of the Helmet and extruded that to make it 3D before using the bridge tool to connect the two parts of the mest. Then I filled in the visor of the Helmet. I then went through making some of the polygons a bit neater. Then mirrored the symmetry to get the whole mesh, as you can see in one of the renders there was a small gap between the two halves of the mesh, this was due to a vertex not being properly aligned to the grid, so I went back over to remove the problem. I then used subdiv proxy to show a higher divisions polygon simaltanouesly to the low number of polygon mesh allowing me to make changes such as soften edges, harden edges and crease to the low resolution polygon but see the effects on the higher number of polygons mesh. This mesh was really shoddily contructed I should be so much less messy, I think there are a few polygons that are only three sides, lots of unnessecary lines. Next time I need to really work on cleaning up the model and spend a lot of time on it as thats what gives a model good visions not just smoothing it to cover up bad work.
No comments:
Post a Comment