So the summer has begun, and what is the first thing I've done apart from starting to take things a little bit easier, thats right more work. Its been an ambition of mine to really get my organic modelling of people animals, mythical creatures up to scratch. Particularly in maya (although I am simaltaneously working in zbrush at the moment). So after some fairly botched attempts things werent going great (ask anyone people are always the hardest things to do in any form of art). Until I watched a tutorial video that showed me a slightly different way of looking at the task of modelling a person with good edge flow. So this morning I began and it has never gone so well. This new approach involved working with image planes ( a concept I am familiar with) but highlights the issues with modelling just off the orthographic views and how often the model then looks wrong in the 3/4 view. So the solution is to using nurbs spheres to make a 3D reference off the reference images, make a layer out of it and then sculpt on top, primarily in the perspective view. This is a god send, and has dramatically increased the quality of my model and its edge loops but also the speed in which the model was made.
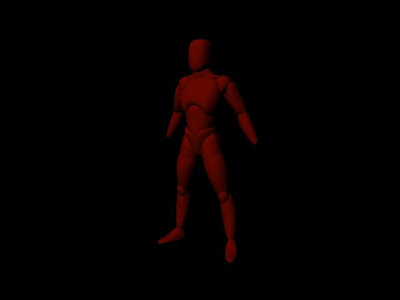
This is the character I made using nurbs spheres to block out the shape before beginining the sculpt
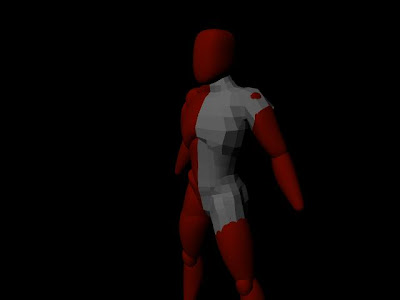
Work in Progress
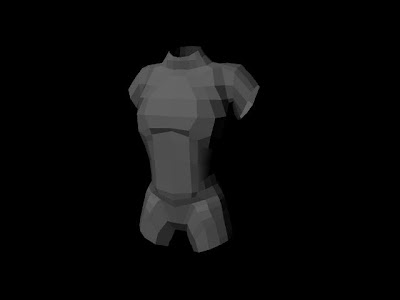
Once I had created the torso I mirrored it to get the otherside.
Back View
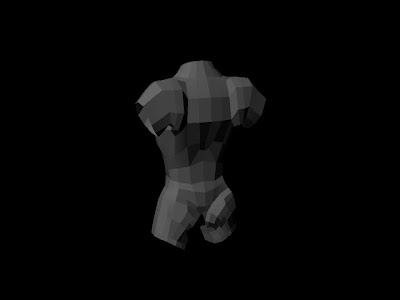
Model with smooth applied. THe mesh smooths well although before I get to this stage I will be going back in and adjusting edge flow and verticies as I smooth to add smaller details as the number of subdivisons increases, this is standard work flow from zbrush, or any 3D modelling software.


No comments:
Post a Comment