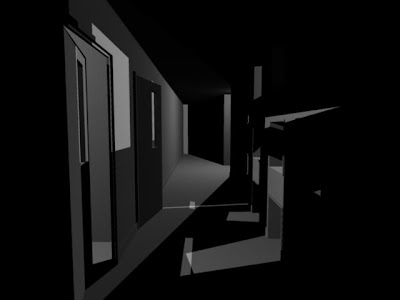
As part of the few remaining escape studios lessons I have left to do there are two tutorials one letting me pull all my hard surface modelling and texturing into one final composition to create a great looking render. The other uses the nurbs kettle model I designed earlier on and shows me how to render it so I can match realistic lighting and use photoshop to composite it into a real life photo. But first things first I thought I would do the tutorial I had no previous experience of. This is the one using photons and caustics. These renders just use lightings emiting photons to create really ambient feeling lights using mental ray.
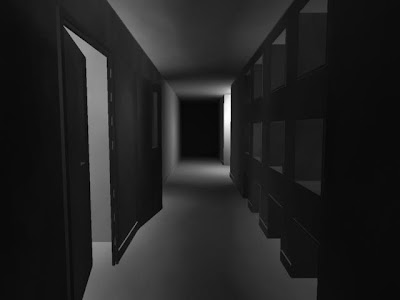 This is the stream of photons bouncing around the scene giving the very ambient lighting feel, which is incredibly different to my first render which just uses the lights I built with raytrace shadows as opposed to emit particles. In the next render I start to change the colour of the photon lights which starts to cause the colour bleed effect you can see here. After I am happy with the colours I am going to start texturing the scene which will have a bit impact of what the photons do and the overall appearance.
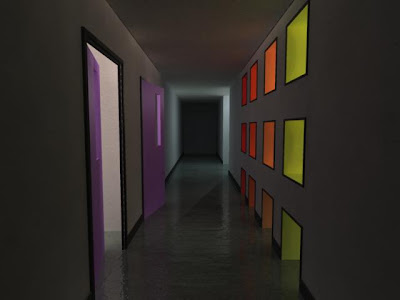
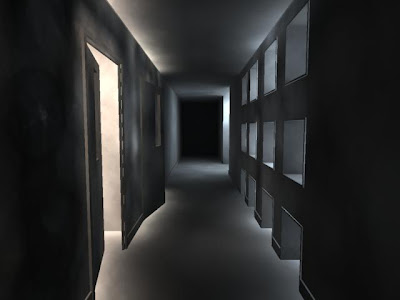 With different textures applied the scene looks like this, I have also increased the number of photons per light to one hundred thousand which gives you great tones of colour but unfortunately causes the very patchy effect. To combat this I am going to use final gather which boosts the rendering time significantly but will smooth out the colour.
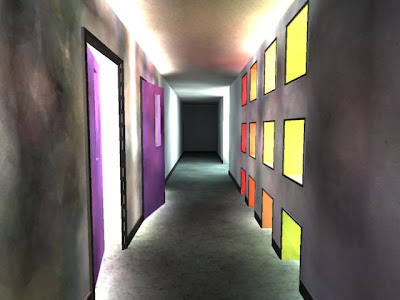 Here is an example of the render after final gather, colours have smoothed out a lot, only issue is that final gather does often darken your scene a lot. So for now I am going to keep playing with the intensity of the lights and find a good render result. Then I will cache the final gather and photon mapping so that mental ray doesnt need to keep working it out each frame so I can batch render off my animation.
No comments:
Post a Comment